How to Convert a Normal Video Clip to High Quality in CapCut?


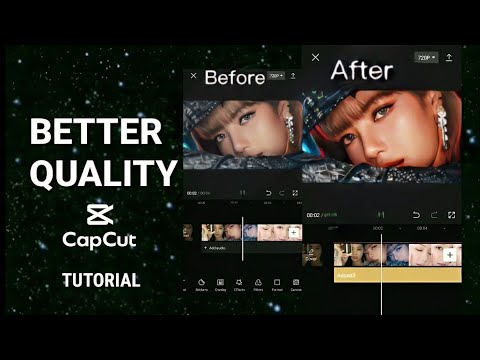
Creating high-quality videos has become essential today, especially if you want to succeed in video editing. The main problem that frustrates many CapCut users and content creators is that they don’t know how to convert their regular video clips to high quality, as their standard footage looks grainy, lacks clarity, and seems far from the professional look. You can make your videos stand out in the digital crowd using CapCut’s powerful features and expert techniques.

In this article, we’ll give you a deep knowledge of how to convert a normal video clip to high quality in CapCut. You’ll be able to transform your ordinary video clip into a superior quality that can surprise your audience in just a few simple steps. Whether you’re a content creator, a professional editor, or someone who wants to make videos attractive by using CapCut, this guide is essential!

Detailed guide on how to convert a normal video clip to high quality in CapCut.

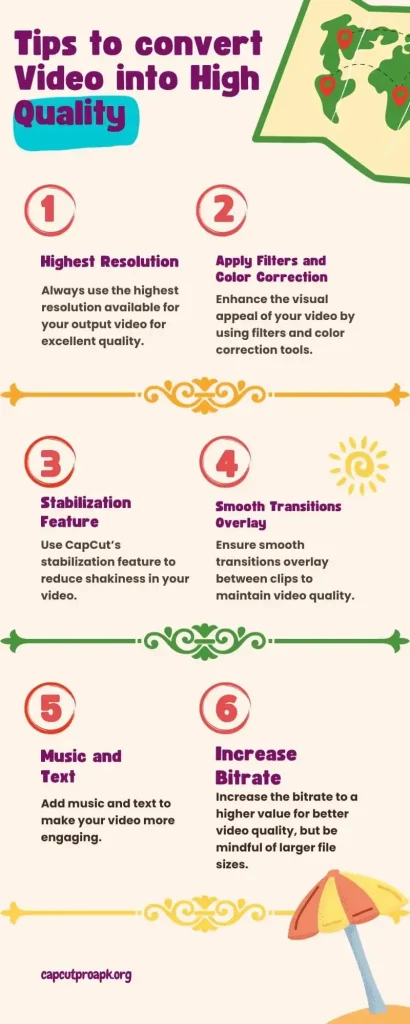
Tips to Convert a Normal Video Clip to High Quality in CapCut

Here are some of the most essential tips that can aid you in converting an ordinary video clip into a better quality using CapCut:
  • Always use the highest resolution available for your output video for excellent quality.
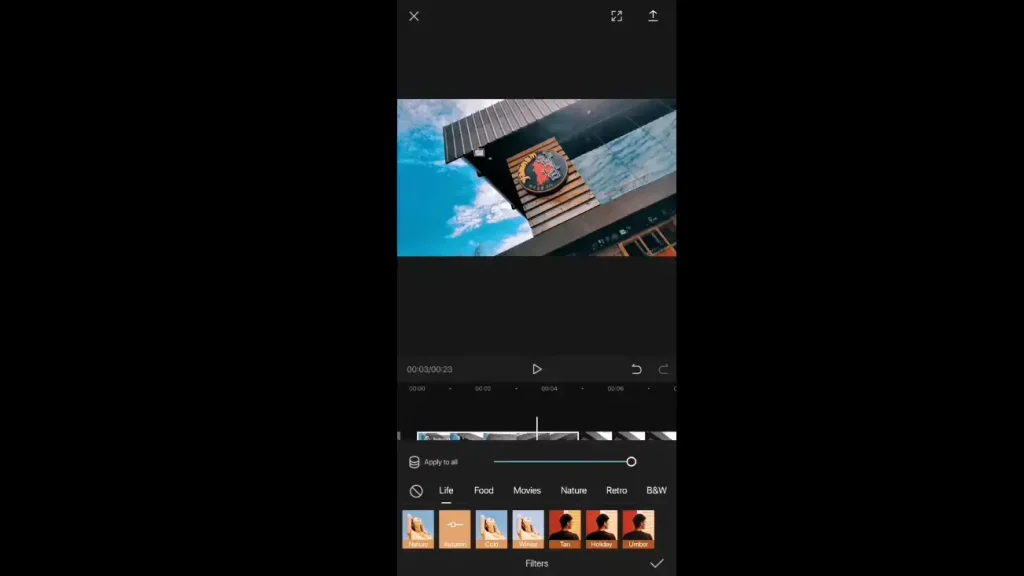
  • Enhance the visual appeal of your video by using filters and color correction tools.
  • Use CapCut’s stabilization feature to reduce shakiness in your video.
  • Ensure smooth transitions overlay between clips to maintain video quality.
  • Add music and text to make your video more engaging.
  • Increase the bitrate to a higher value for better video quality, but be mindful of larger file sizes.
Tips to get better quality on CapCut

How to Convert a Normal Video Clip to High Quality in CapCut?

You can use the following steps to convert your ordinary video into good quality in the CapCut video editor application by using Mac, PC, iOS, and android devices. The steps are mentioned below:

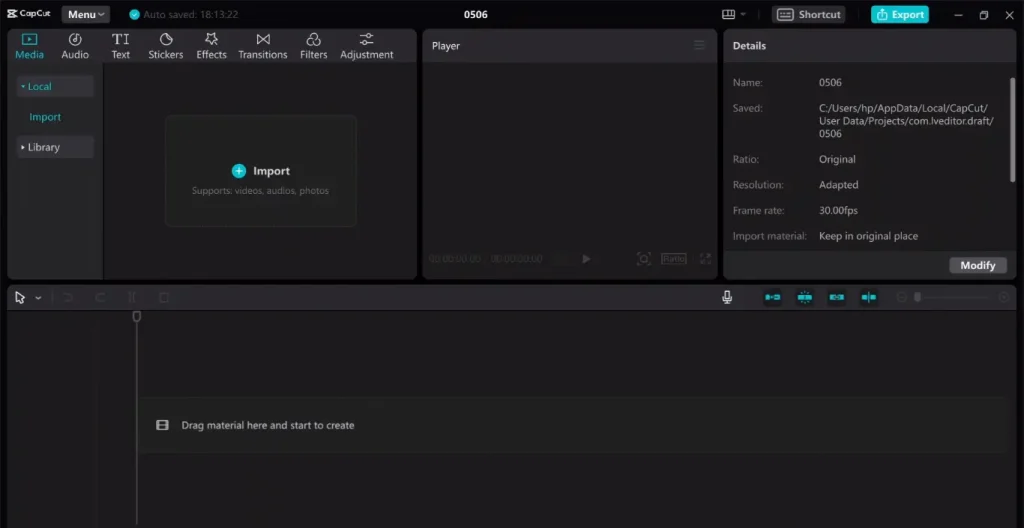
Step#1: Import Your Video Clip

The first and simplest step is to import the video clip you want to edit in CapCut. You can do this by opening the CapCut app and starting a new project. Import the video clip you want to strengthen by tapping on the “+” or “Import” button at the center of the screen. Now select the video clip that you want to edit from your device library. Once your video is imported, you must add this to your timeline. To do this, simply drag and drop the imported video clip into the timeline at the bottom of the screen.
how to get good quality on capcut

Step#2: Apply Filters

Once you’ve imported your video clip and added it to the timeline, you can magnify the quality of your video clip by applying filters and effects. You can adjust your video’s brightness, color, and contrast effortlessly, as CapCut offers various paid and free filters. However, you can use the paid features for free by using the CapCut mod APK. You can select and apply your preferred filters by tapping on the “Filters” icon at the bottom of the screen.
Applying filters to get 4K quality on CapCut

Step#3: Add Music and Text

If you want to enhance your video quality further, you can also add music and text to your video, as CapCut provides numerous text and music options to make your video a sight for sore eyes. You can add text easily by tapping the “Text icon at the bottom of the screen. CapCut also offers numerous text styles and fonts, so you can choose your favorite style that you want to use. To add music, tap the “Music” icon and select the song that matches your content needs. You can also import music from your device memory if you don’t want to use the built-in music in the CapCut app.

Step#4: Export Your High-Quality Video

Once you’ve done all the obligatory enhancements and are satisfied with the changes and the video quality, you’ll need to export it as a high quality. You can do this by tapping the “Export” button at the bottom of the screen. Choose the export settings that match your desired output quality or select the highest quality for your export settings; you can export your video in various quality, including 720p, 1080p, and 4K. Now, you can share your HD video on social media platforms like TikTok, Instagram, and WhatsApp.

FAQs

Yes, CapCut supports 4K video editing and can reach 60 frames per second.
Yes, you can undo any changes you make during the editing process by using the “Undo” feature.
Video editing can degrade quality due to compression and re-encoding.

Conclusion

We’ve covered almost everything you need to know on how to convert a normal video clip to high quality in CapCut. The app’s user-friendly interface and astonishing features allow you to transform your ordinary video into high-quality creation, and by following the above steps, you can upscale your video quality in no time. Enhance your video editing skills with CapCut and unlock the potential to create remarkable video content.