How to Add Keyframes in CapCut Video Editor ( Easy Guide )
Are you trying to create smooth animations with the help of keyframes but need to know how to add keyframes in CapCut precisely? Then this guide is for you. Keyframes have become a lifesaver for many video editors to create visually appealing videos as they can adjust specific parameters, such as position, scale, rotation, and opacity, by setting particular points in the video timeline. However, many CapCut users find difficulties in the process of adding keyframes, leading to frustration and hindering their creative potential.
In this article, we’ll explore the realm of keyframe features in CapCut, providing you with a step-by-step solution to empower your editing endeavors. Within just a few simple steps, you’ll be able to master the keyframe feature in the CapCut app. So, if you want to magnify transitions, create captivating effects, or simply streamline your editing process, this article is the key to unlocking your editing potential.
What is a Keyframe in CapCut?
Keyframes in CapCut is a popular animation technique that lets users create smooth, customized animations, transitions, and effects in their videos. They basically consist of specific points in the video’s timeline that adjust parameters, including position, scale, rotation, and opacity. Keyframes are very helpful for creating professional videos as they offer accurate control over the movement, timing, and evolution of the video elements.
How to Add Keyframes in CapCut?
You can use keyframes in CapCut effortlessly using an iOS or Android smartphone to create a dynamic effect by following the steps mentioned below:
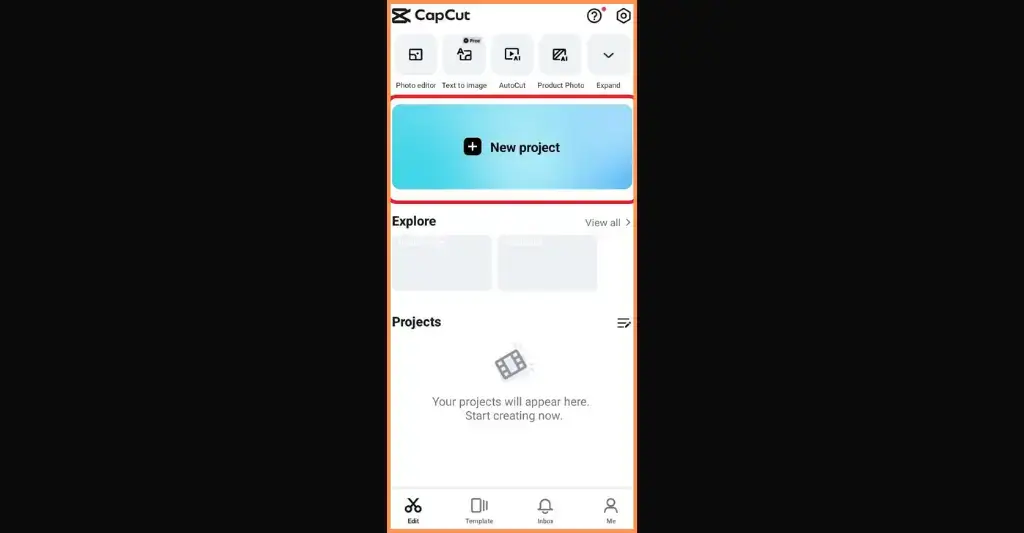
- First, open the CapCut application and hit the New Project button to create a new project for video editing.
- Simply import the video in which you want to apply keyframes.
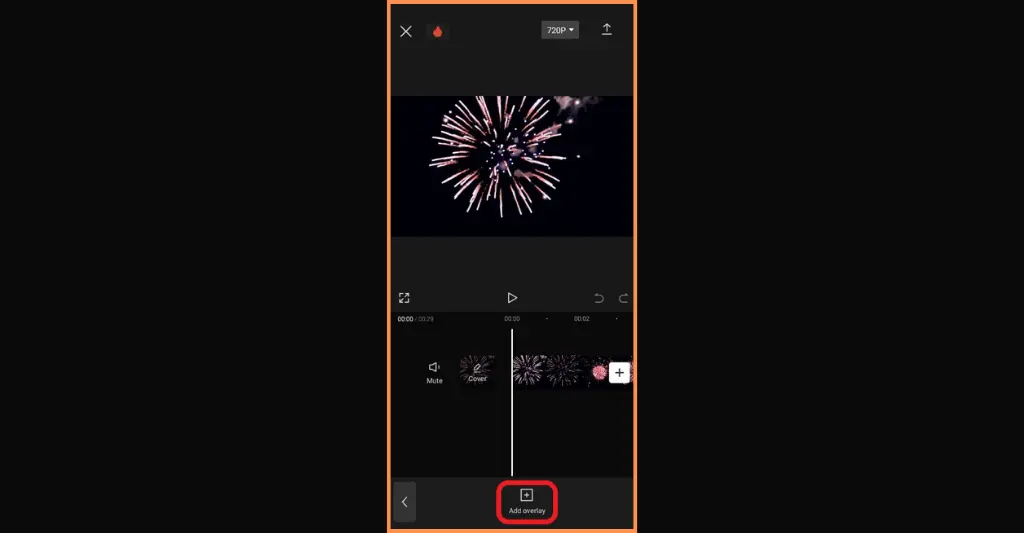
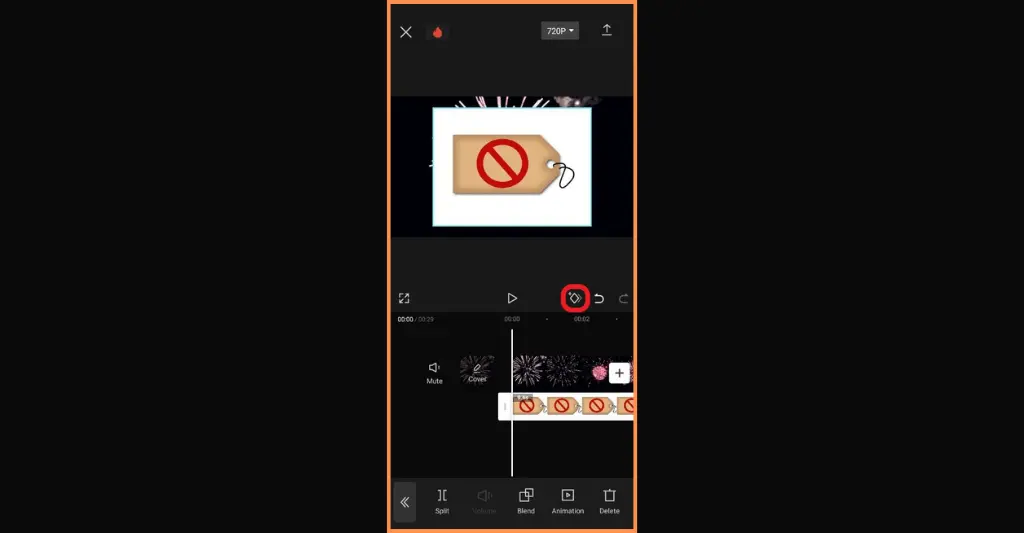
- Now, select the video clip and hit the Overlay icon at the bottom of the screen.
- Tap the +Add Overlay option and insert the object you want to animate, like an image, sticker, or any shape.
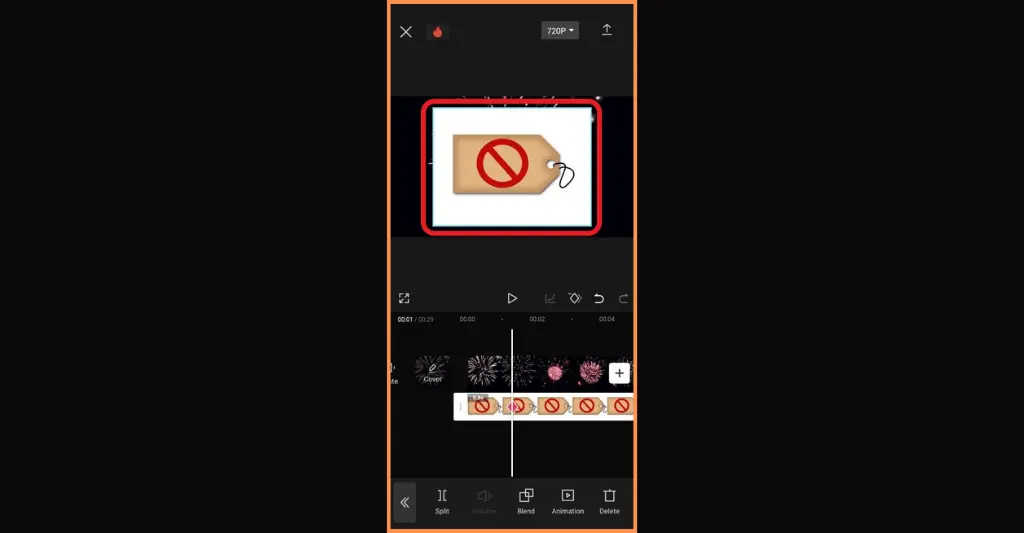
- Select the object you’ve added, then tap the Keyframe option, which looks like a small diamond icon.
- Now, position the playhead from the timeline at the desired starting point for the animation, then press the Add button to generate a new keyframe.

- Set the object’s position, scale, and rotation to establish its initial state for the animation.
- Position the playhead to the point where you want to end the animation, and hit the Add button once again to add more keyframes.
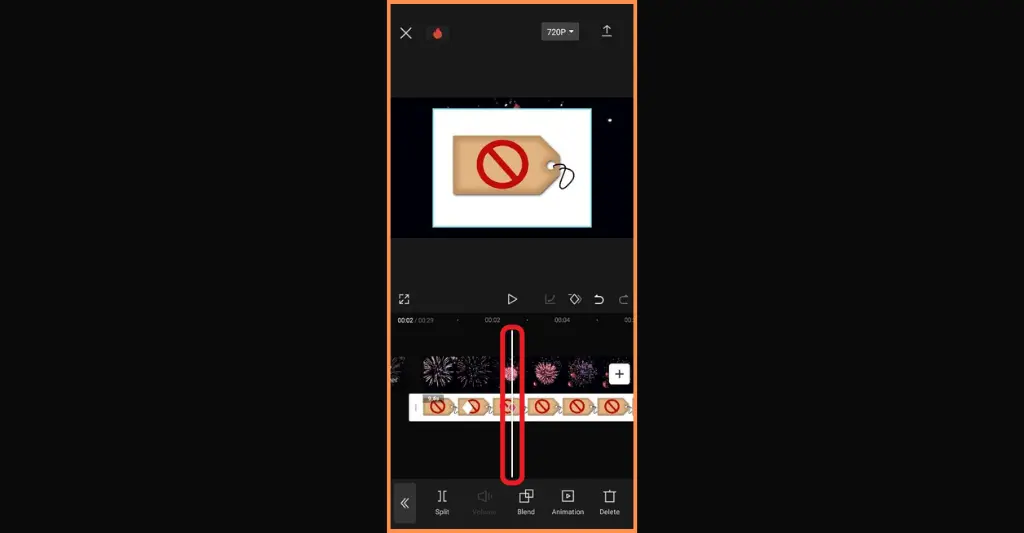
- Adjust the object’s position, scale, and rotation to set its final state for the animation.
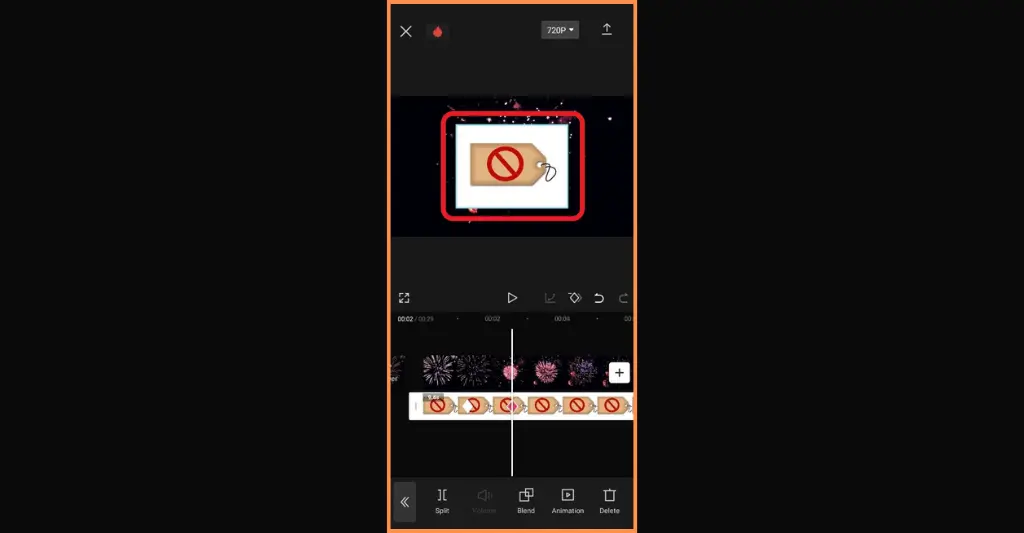
- Once you’ve done editing, preview it and click the Export button at the top right corner of the screen.
How to Add Keyframes in CapCut PC?
- First, launch the CapCut video editing app on your desktop and click the New Project button.
- Now, add the video you want to edit by clicking the Import button on the left side of your screen.
- Select the video timeline to open a menu on the right side. Navigate to the Basic tab and enter the Blend section to choose a mode.
- Set the initial opacity and position the playhead at the starting point of your animation. Tap the diamond symbol to generate a keyframe; it’ll change to blue, and a white diamond will appear on your timeline.
- Now, position the playhead where you want to start the next animation. Modify the opacity in the side menu, and the diamond will automatically revert to a blue color.
- Once you’ve achieved your desired look of the video, click the Export button to export it and share it to various social media platforms, including TikTok, Instagram, and YouTube.

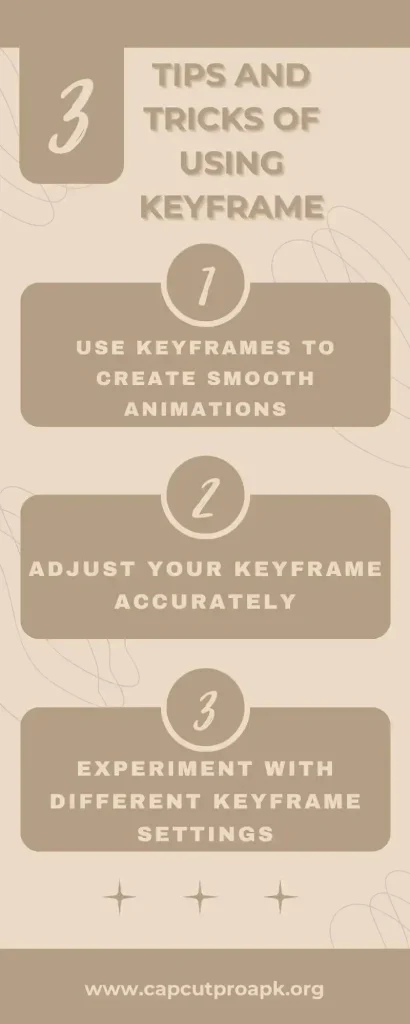
Tips for Using Keyframes in CapCut
Here are some valuable tips for mastering the keyframes feature in CapCut:
- You can use keyframes to create smooth and gradual animations.
- Adjust your keyframe accurately, as it significantly impacts the video’s overall quality.
- Don’t forget to experiment with different keyframe settings to get the desired result.