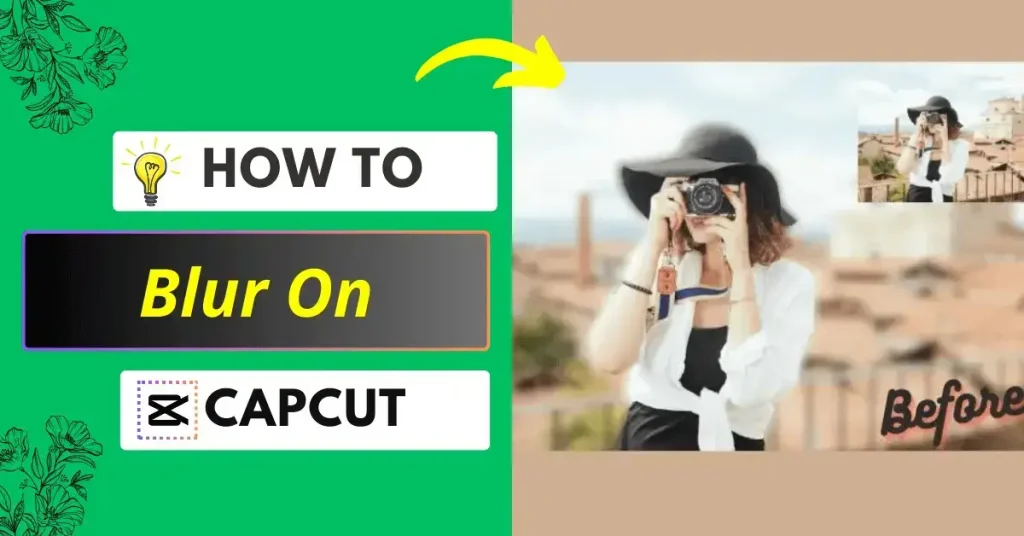
How to Blur on CapCut (Detailed Guide)
I know how it feels when you’re trying to blur some elements in your video to protect sensitive information but don’t know how to blur on CapCut. Blurring is a creative effect that draws attention to a particular part of the video or creates a mood or atmosphere. However, many CapCut users struggle to achieve a perfect blur, which can be daunting.
In this article, we’ll delve into how to blur on CapCut with an easy approach. Whether you want to blur a face, messages, a background, or a whole video, you can master this feature at the end of this guide. The given methods will help you create the desired effect, make your video more interesting, and allow you to enhance the visual appeal of your video.
How to Blur on CapCut in 3 Ways
Blur Video Completely
You can blur your entire video in the CapCut video editor application by following the steps mentioned below. However, remember that blurring the whole video can affect all parts and objects of the video.
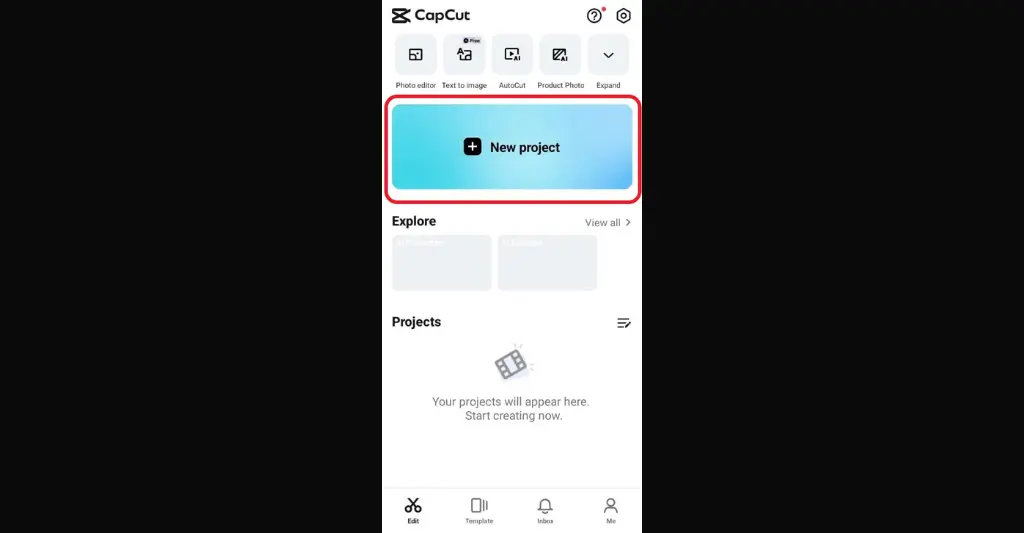
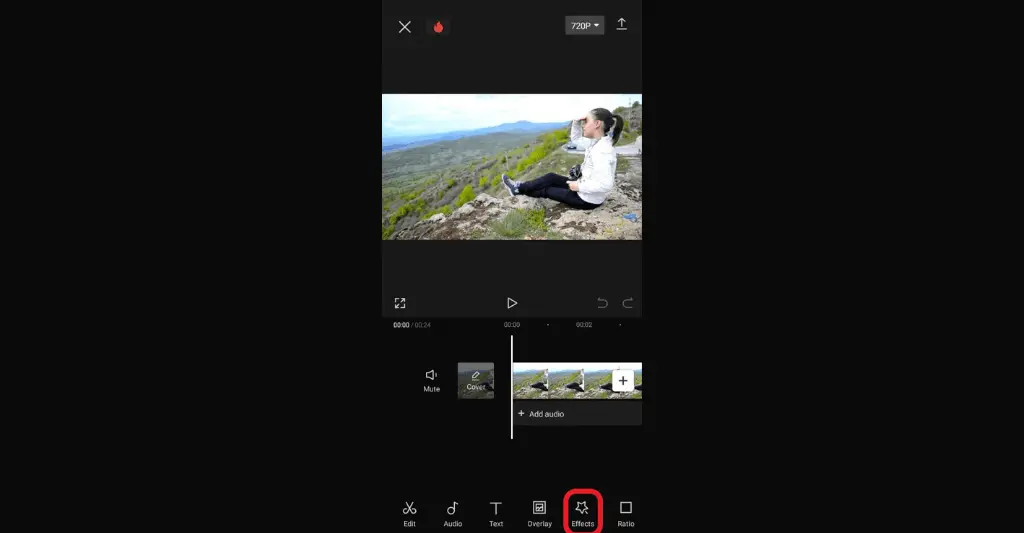
- First, open the CapCut application on your smartphone and tap on the +New Project icon at the center of the screen.
- Now, import the video in which you want to add a blur effect.
- Once you’ve imported your video, tap on the Effects icon located at the bottom toolbar.
- Now tap on Video Effects if you’re adding a blur to the video.
- You’ll see a lot of different blurs that come up after clicking the video effects option. Simply select the blur you want to add to your video.

- Now, you’ll need to apply this blur effect to your entire video. To do this tap on the Blur bar, move the endpoint by dragging it, and release it at the end of your video. Now you can export it and share it to different platforms.
Blur a Specific Portion of a Video
You can also blur certain portions of your video clip or images in CapCut by following detailed steps. The steps are given below:
- First, open the CapCut video editor and import the video in which you want to apply a blur effect.
- Once your video is added, tap the Overlay option at the bottom of the screen and click the Add Overlay icon.
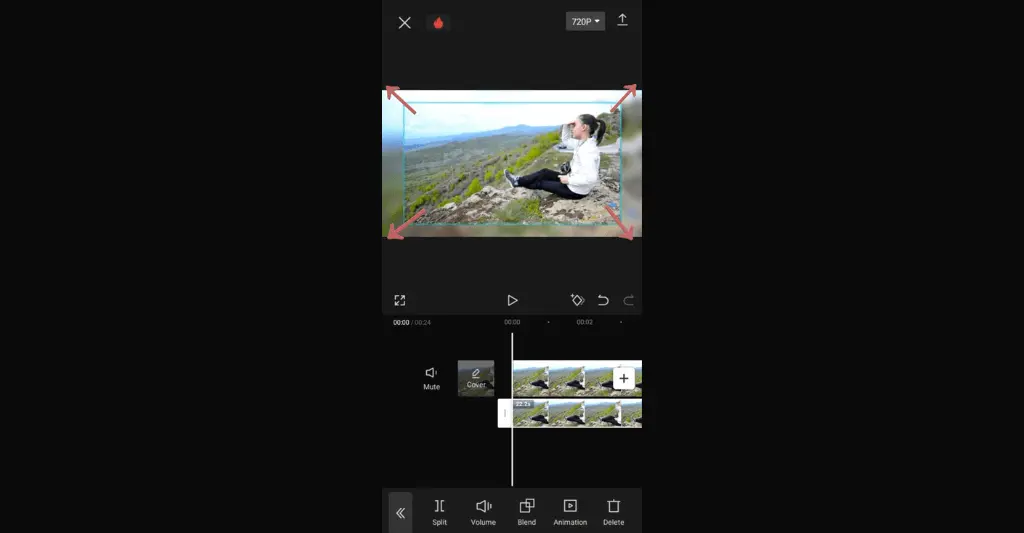
- Choose the same initial video you added and use it as an overlay. It’ll be visible at the top of your main video.
- Now, drag the overlaid video and adjust it directly over your main video using your fingers. Ensure that the borders of the first and second videos are perfectly aligned.
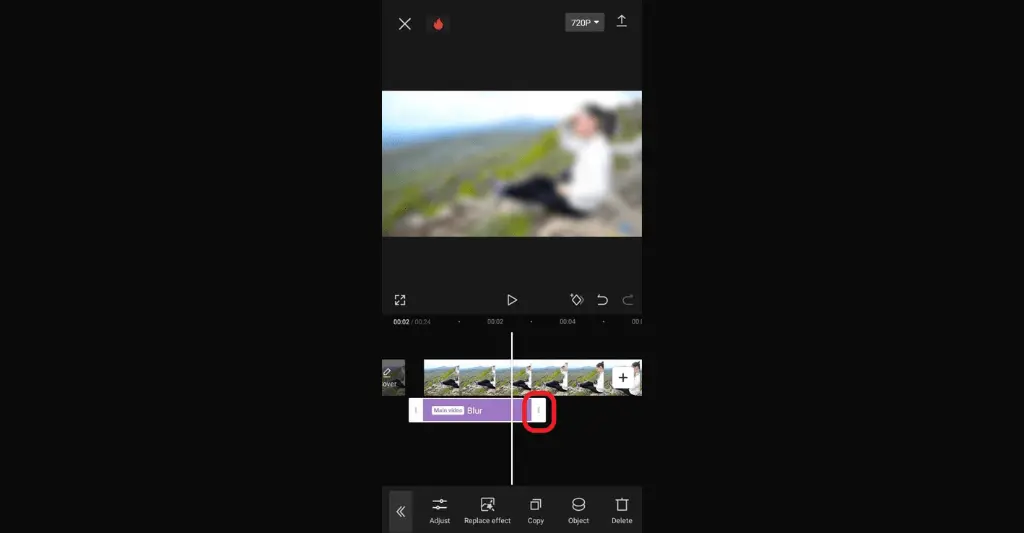
- Now is the time to apply blur to your video as you did in the above section. To do this tap on the Effects option at the bottom of the screen and select the blur you want to add.
- Now, expand the applied blur effect to the whole duration of the video by dragging its end pointer and releasing it at the end of the video.
- Once you’ve applied, choose the “Blur” bar indicated in purple color, and then tap on the ‘Object’ icon located at the bottom.
- Choose the Overlay tile and then click on the tick mark.
- Now go back to the main project timeline, hit the Overlay option once again, and tap on the mask icon.
- Now, pick a mask shape that matches the object you want to blur. You can also adjust the position and size of the shape as needed.

Blur a Video Background
You can blur the video background in CapCut with just a few simple steps. The steps are described below:
- First, launch CapCut and import the video.

- Once you’ve imported your video, tap the Effects option from the toolkit and choose Video Effects.
- Now go to the lens category and tap on the blur option.

- You’ll need to apply this effect to your entire video. Simply drag its end pointer and drop it at the end of the video.

- Now go back and click on the Overlay option, then tap Add Overlay and add the same video again.
- Once you’ve added an overlaid video, align the borders perfectly of both videos by using your fingers.
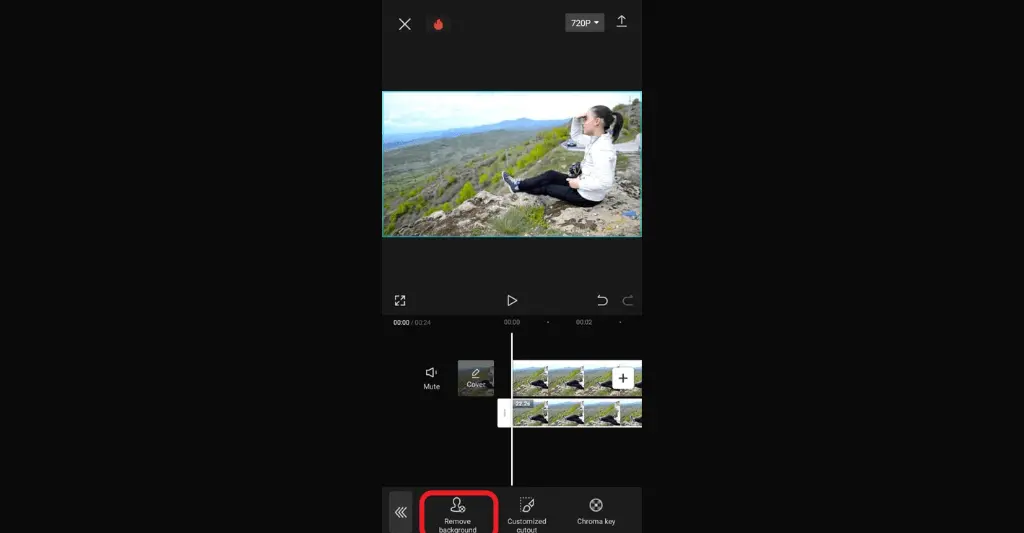
- Once you’ve aligned, tap on the Cutout option.
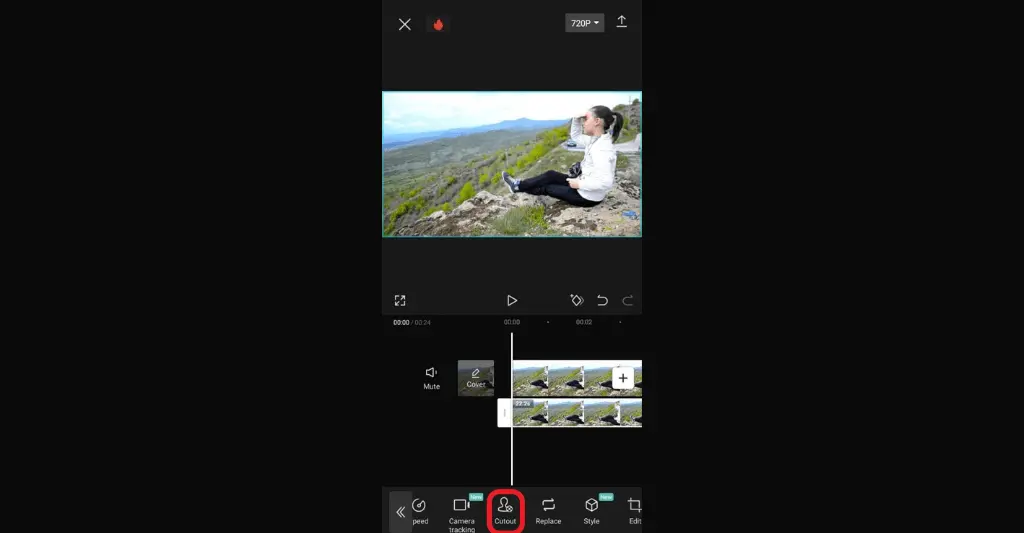
- Now tap on Remove Background and wait patiently for the background to be removed.